Introduction
Disk cloning is a crucial process for anyone looking to upgrade their storage, create backups, or transfer data to a new hard drive. Clonezilla, a powerful and free disk cloning software, makes this task straightforward and efficient. In this guide, we will walk you through the step-by-step process of cloning a disk using Clonezilla. Whether you’re a seasoned IT professional or a beginner, this tutorial will help you ensure a smooth and successful disk cloning experience. Let’s get started!
Preparing for Disk Cloning
Prerequisites
-
Old hard disk
-
New hard disk
-
CloneZilla ISO
-
USB stick
Make sure to back up important data before proceeding, in case of failure.
Will be making a blog post about making backups using syncthing soon. Stay tuned
Downloading Clonezilla
Creating a Bootable Clonezilla USB Drive
- In Linux
sudo dd if=path/to/clonezilla_iso of=/path/to/disk bs=1M status=progressif this didn’t work install and use Balena Etcher
- In Windows, use Rufus .
Cloning the disk
Now we will insert the disk we burned the ISO onto and boot from it.
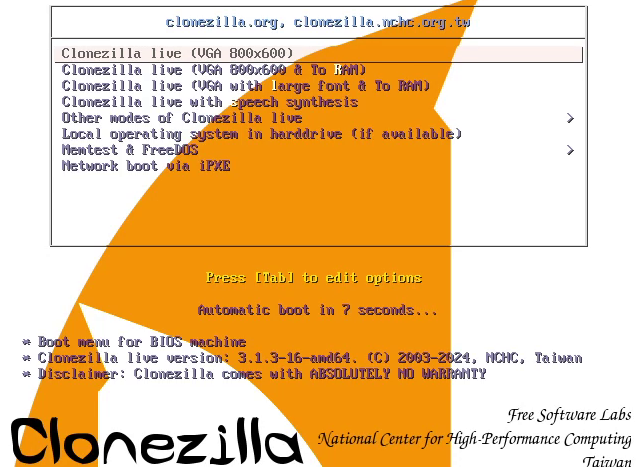
After booting from the USB, you should see the screen below.
- choose the first live option.
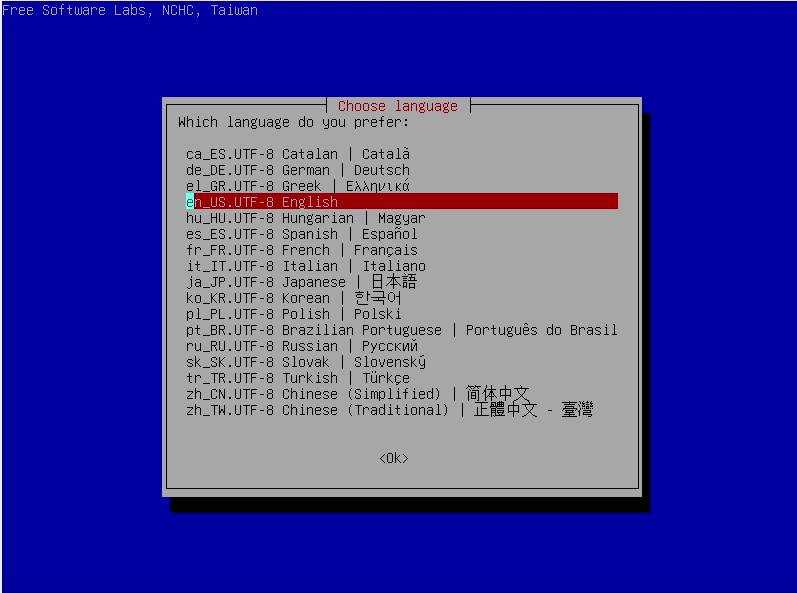
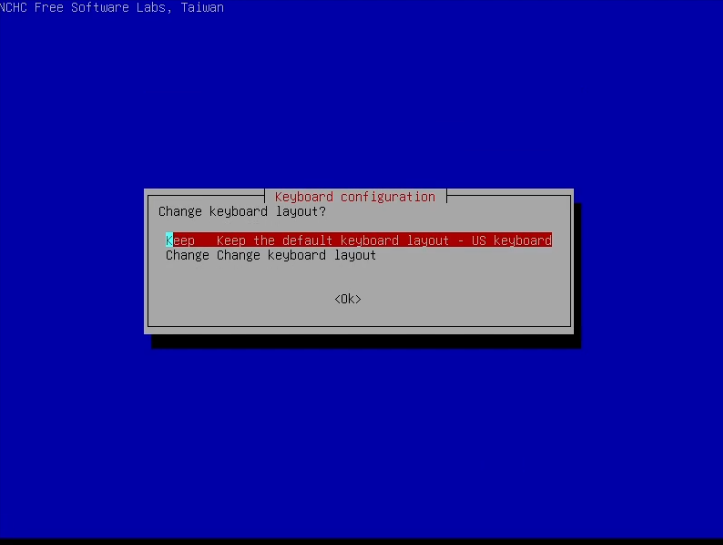
- choose language and keyboard layout.
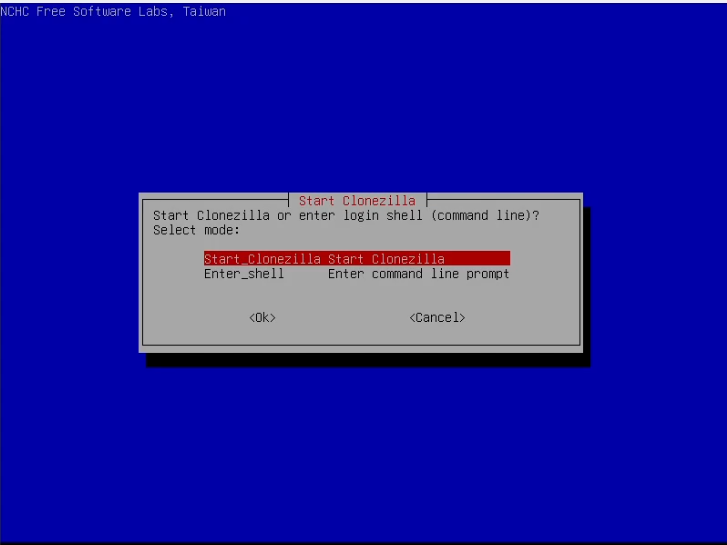
* choose `start clonezilla`
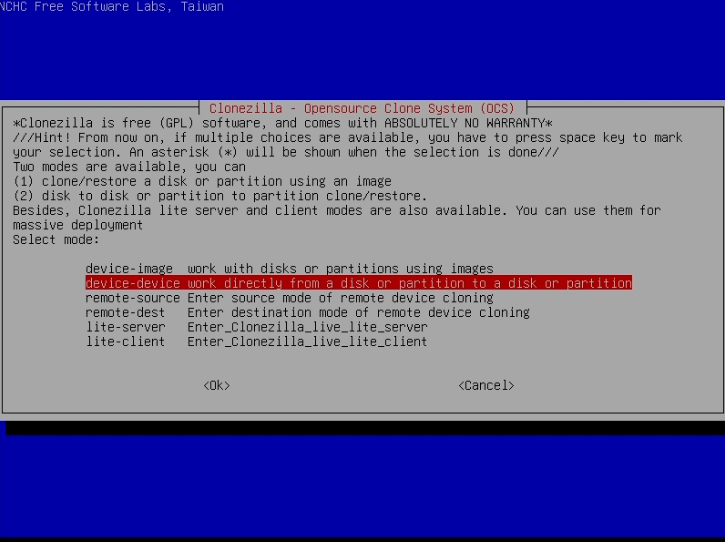
* Since we are going to clone disk to disk, we should choose the `device-device` option.
-
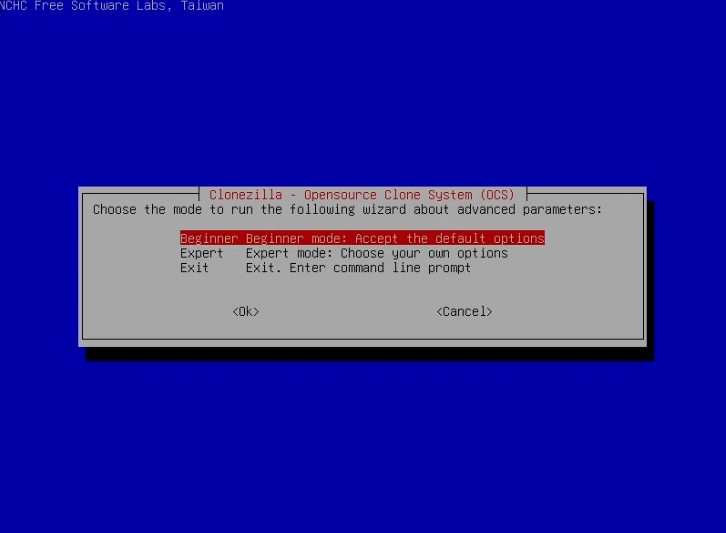
We will use Beginner mode since we are just starting out.
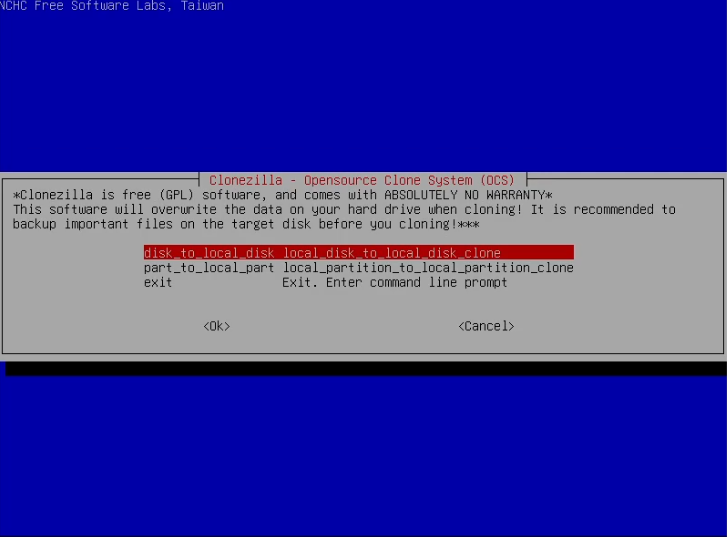
* we want to clone the whole disk so we should choose `disk_to_local_disk`
-
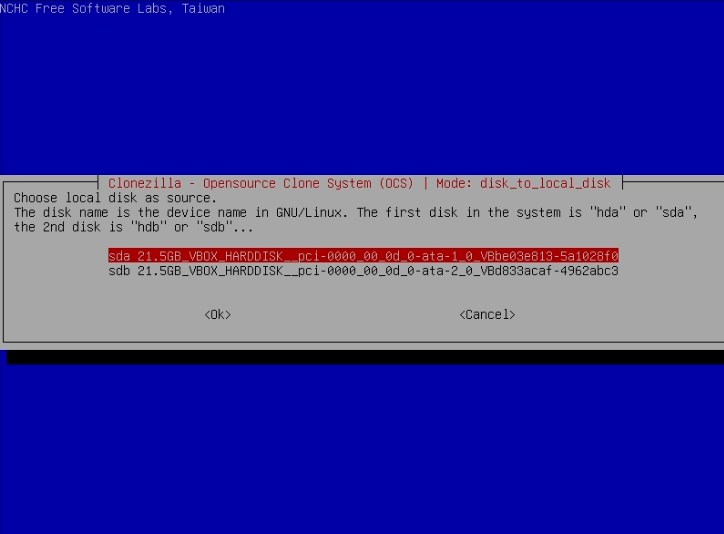
Now we arrive at the most critical part: choosing the source disk and the destination disk. If we mix them up, we could end up with two empty disks. So, we need to pay close attention.
to differentiate the disks if they are the same model, go to the disk utility of your operating system and look for properties of each one, you should find something to differentiate between them.
Ex: in windows the disk where it is installed is disk 0
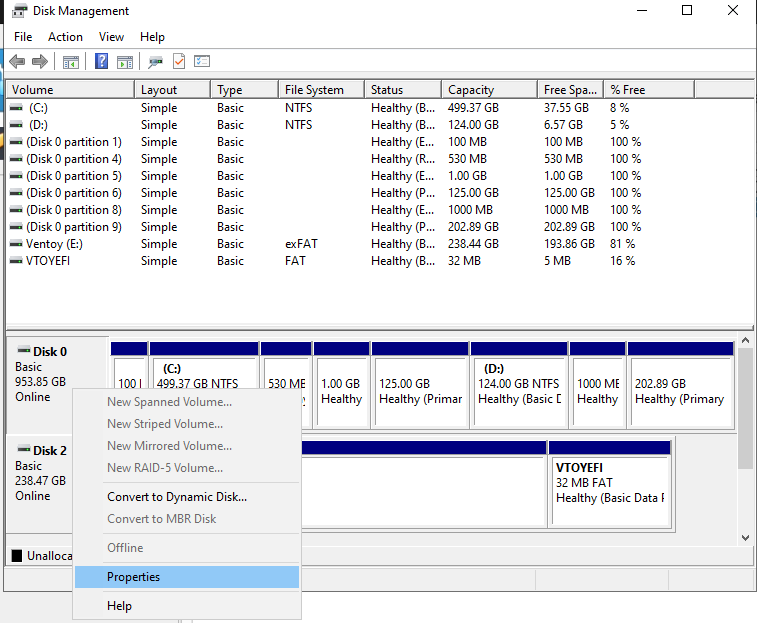
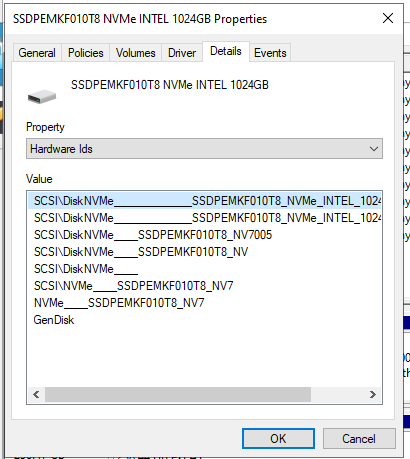
- and in the details pane chose hardware Ids property
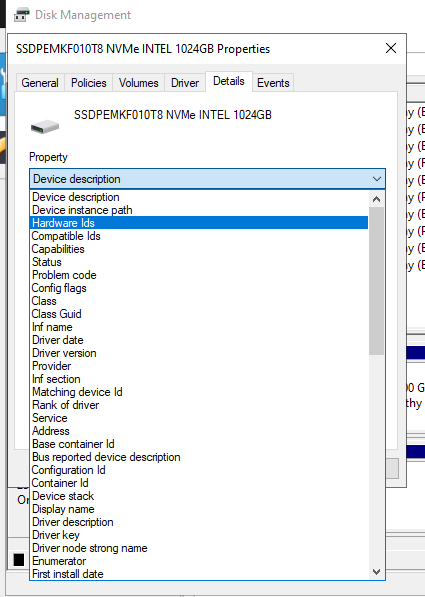
- the name that keeps repeating is the disk ID; it’s also the one shown in Clonezilla
-
if you do the same thing for the other disk you should find another Id.
And that’s how you differentiate between the 2.
-
First, we choose the source disk.
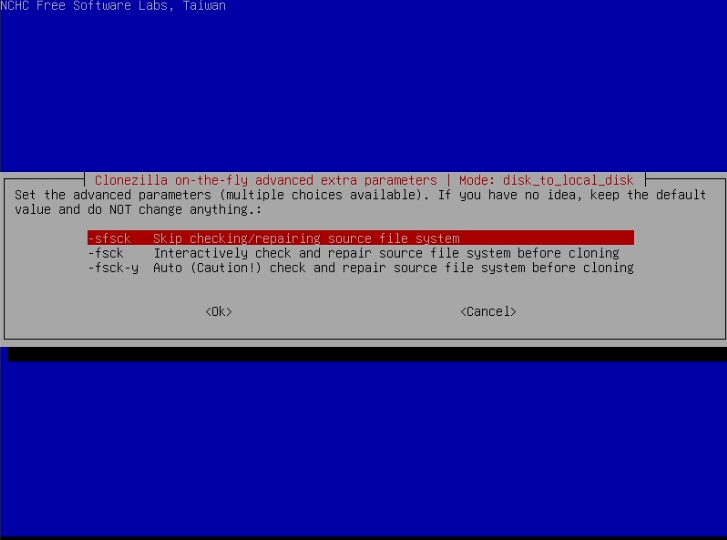
* We are going to skip file system checks because the source disk is working well.
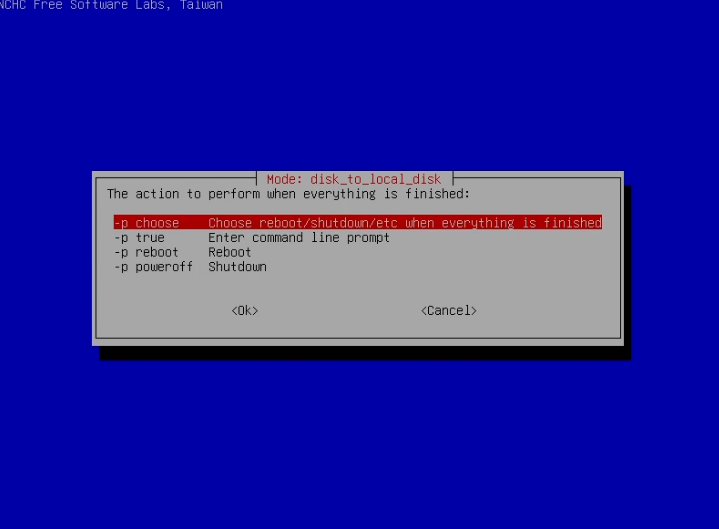
* We choose what CloneZilla will do when it finishes.
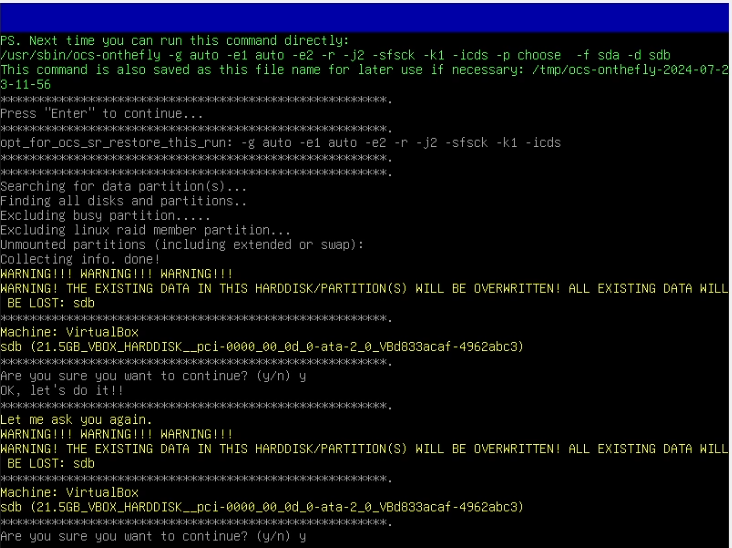
* Last chance to check if you mixed up the two disks. Type `y` if you are sure you did everything correctly.
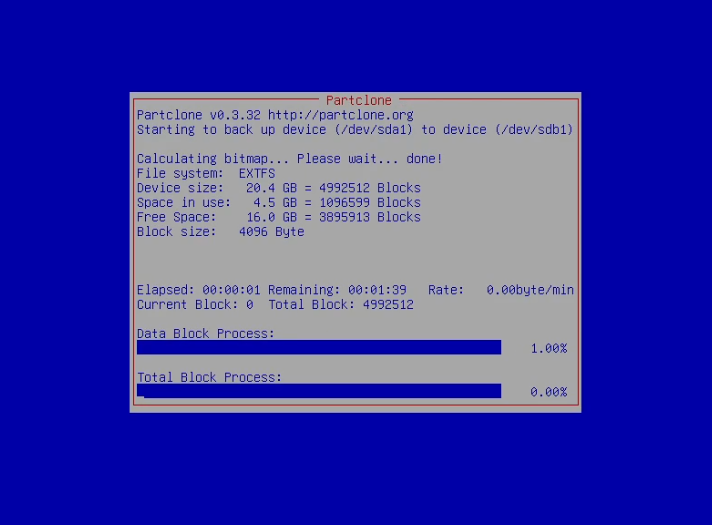
* At this stage, CloneZilla is now actually cloning. Make sure it is not interrupted, or else both disks will be corrupted, and your data will be lost.
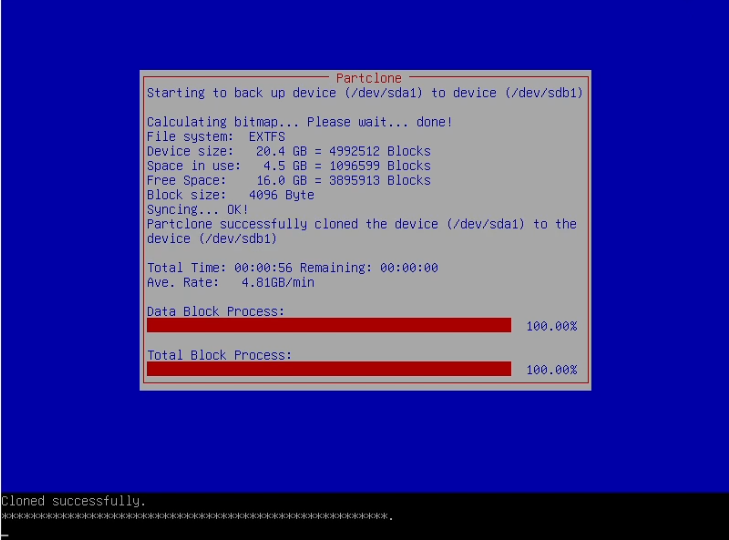
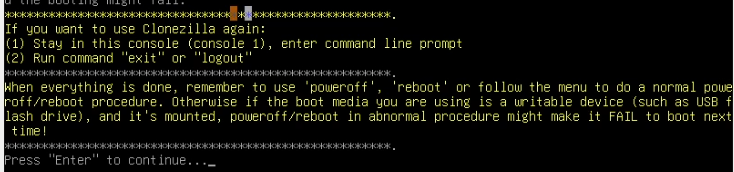
* If you see this message, congratulations! The cloning has been completed successfully.
* Finally, press Enter to continue.
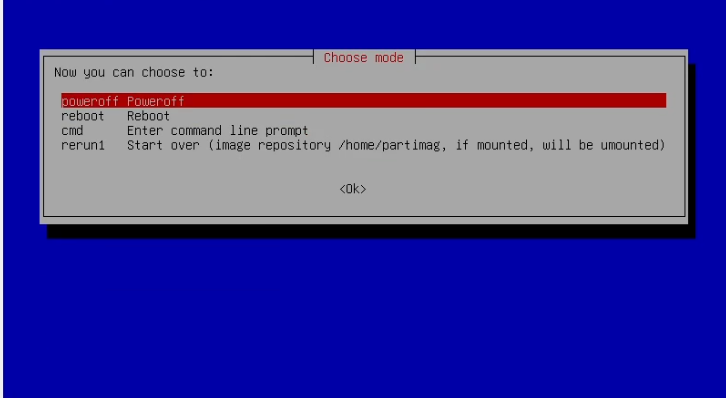
* and choose what you want to do. You probably want to power off to remove the old disk.
Conclusion
In conclusion, cloning a disk using Clonezilla is a straightforward process that can be completed by following a series of clear steps. By preparing properly, downloading the necessary software, creating a bootable USB drive, and carefully selecting the source and destination disks, you can ensure a successful cloning operation. This guide has provided a detailed walkthrough to help both beginners and experienced users navigate the process easily. Remember to always back up important data before starting and double-check your selections to avoid any data loss. With Clonezilla, you can efficiently upgrade your storage, create backups, or transfer data to a new hard drive. Happy cloning!